
Install QPST and Backup qcn
Page 5 of 8 - How to unlock the Orange San Francisco II for free
Introduction » Install the USB drivers » Download required files » Check FTM mode » Install QPST & Backup qcn » Restore qcn » Reinstall stock ROM » Comments
On this page, we will install QPST and set it up in order for your Orange San Francisco II to communicate with your computer.
- On your PC, download qpst.zip to you desktop. Once completed, extract it.
- Open the folder Install QPST (from the zip you just extracted) and run setup.exe (or setup) to install. Follow the on screen instructions.
- Make sure your phone is disconnected from your computer.
- On your phone, open Settings from the app menu.
- Tap Applications.
- Tap Development.
- Make sure USB debugging is ticked.
- Switch off your phone, remove the battery, wait 5 seconds, and then reinsert.
- Hold the Volume down and Power on button at the same time, for 10 seconds.
- You should now see FTM on your screen.
- Connect your phone to your computer.
- Click Start -> All Programs -> QPST -> QPST Configuration
- Click the Ports tab, and then click the button Add New Port ...
- Click on COM - USB/QC Diagnostic and click OK. In our case, there was the number 9 after COM, as seen in the picture below. You may have a different number, which is fine.
- Click Start Clients and then Software Download.
- Click the Backup tab and then the second Browse button.
- You should now be presented with a Window asking you where to save a file. Save the file to your Desktop, and name it osf2
- Press the Start button (it's next to the Abort button)
- Wait until you see "Memory Backup Completed" in the Status box.
- Go to your Desktop and check the file size of osf2. Make sure it is NOT 0 KB in file size. You can do this by simply hovering over the file with your mouse, as seen below. For us, the file size was 153 KB, however it may be different for you, which is fine - just make sure it is greater than 0 KB.
- Close all QPST Windows.
- Click Start -> All Programs -> QPST -> QPST Configuration
- Click the Ports tab.
- Click the only COM device from the list.
- Click the Disable button and then click Yes.
- Close all QPST Windows, and continue to the next page.
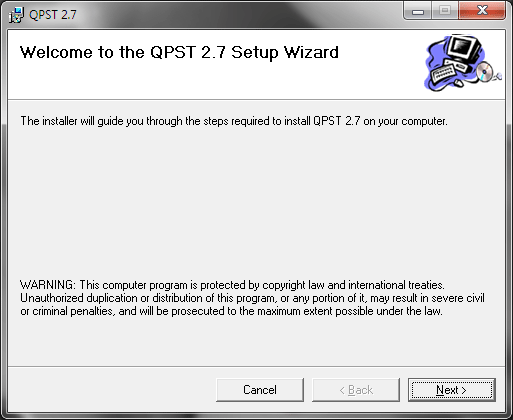
Run setup.exe. Follow the wizard instructions to install QPST.
Troubleshooting
If your phone boots as normal, it is likely that you did not press the required buttons correctly, or you did not disconnect your phone from your computer. Try booting into FTM mode again.
1. Turn off your phone and remove the battery.
2. Reinsert the battery.
3. Make sure your phone is disconnected from your computer.
4. Hold the Volume down and Power on button at the same time, for 10 seconds.
5. Follow from step 8.
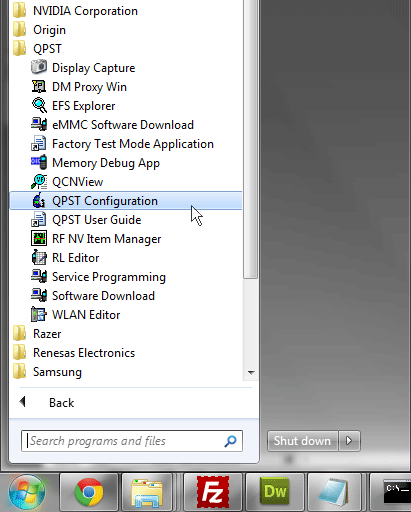
Run QPST Configuration.
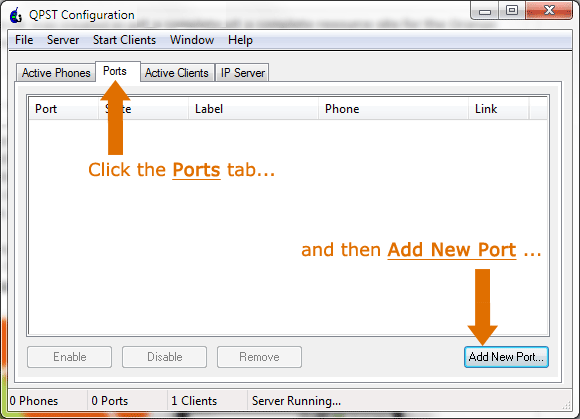
Click the Ports tab then the Add New Port... button.
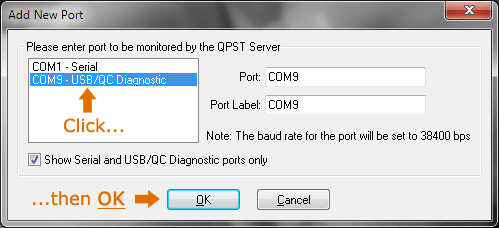
Click COM - USB/QC Diagnostic and then OK.

Click Start Clients and then Software Download.
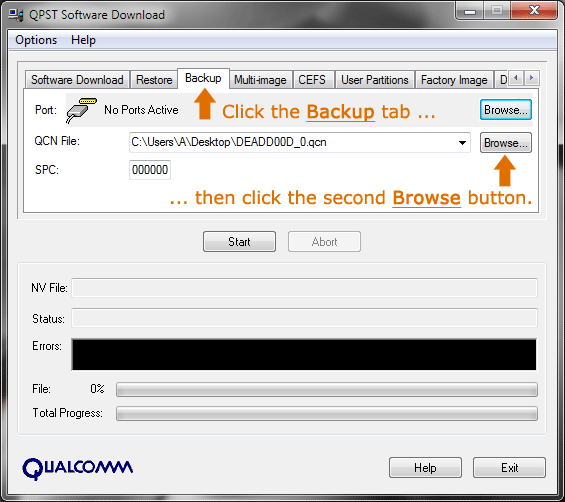
Click the Backup tab and then click the second Browse button.
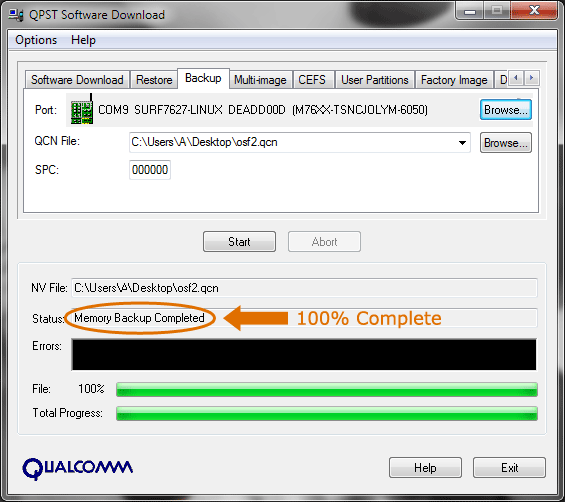
Wait until you see Memory Backup Completed.
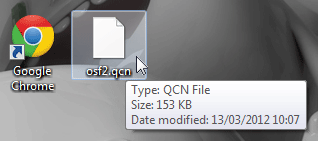
Check the file size of osf2 by hovering your mouse over the file. Make sure it is greater than 0 KB.
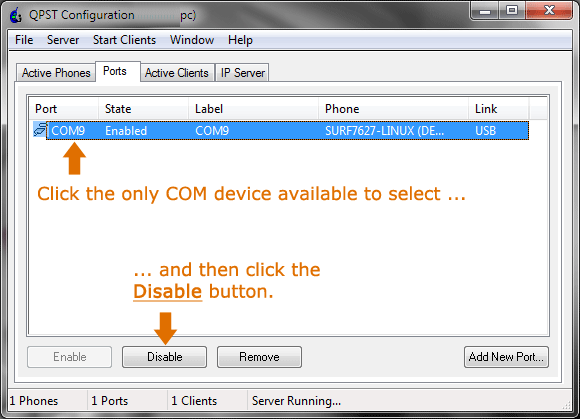
Click the only COM device listed and then click the Disable button.
How to debrand / Install Custom ROMs / Android 4.0 from scratch
- 1. Introduction
- 2. Install the USB drivers
- 3. How to install ClockworkMod Recovery
- 4. How to choose and install a ROM
- 5. Comments
Popular Guides, Tutorials & Articles
How To Install Custom ROMs / Android 2.3 / Android 4.0 from scratch
- 1. Introduction
- 2. How to identify Gen 1 or Gen 2
- 3. How to root and install ClockworkMod Recovery
- 4. How to choose and install a ROM
- 5. Comments
Popular Guides, Tutorials & Articles
- How to unlock Orange San Francisco for free
- List of ROMs (updated regularly)
- An Introduction to the Orange San Francisco / ZTE Blade / ZTE Libra U-V880
- Why should I install a Custom ROM?
- What is rooting?
- What is ClockworkMod Recovery?
Other Guides, Tutorials & Articles